
Entering data correctly into QuickBooks for your property management business is vital to producing the correct reports, but it can be confusing, as well. Take a look at the answer below that we just gave one of our clients on the topic.
Q: Is the customer my client or is it their tenants? What the job–client or their tenant?
A: Great Question. Entering data properly will simplify property management for multiple owners, properties, units, and tenants. As I have answered in a few previous posts, the property owner, your client, should be entered as the Customer. The property then will be entered as the Job of the property owner. The unit, if applicable, will be the Job of the property. The tenants will be the Job of the unit (if applicable) or the property.
If the tenant is renting a unit, right-click the unit and select Add Job. If the tenant is renting a property, right-click the property and select Add Job. Enter the tenant’s name and all of the contact information.
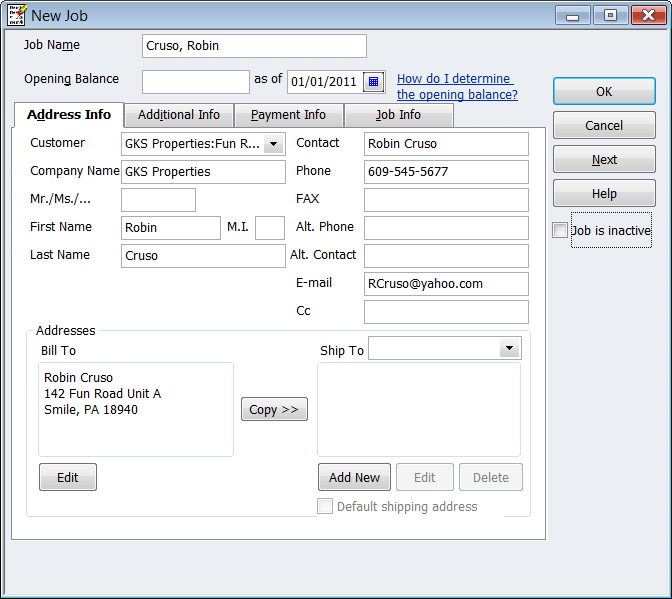
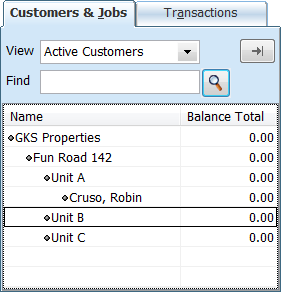
The screen below shows how the Customer List should look after adding the tenants. Robin Cruso is renting Unit A at 142 Fun Road, a property owned by GKS Properties.
I hope this helps you think through the organization of your property owners, properties, units, and tenants.